| Estonia | Latvia | Lithuania | |
|---|---|---|---|
| e-Identity: | |||
| ID-card (card reader) | n/a | ||
| ID-card (NFC) | n/a | n/a | |
| Mobile-ID | n/a | ||
| Bank offices: | |||
| SEB | |||
| Swedbank | |||
| Luminor | |||
| Biometric identification: | |||
| ID-card | |||
| Passport | |||
| Existing Smart-ID account | |||
| Smart-ID | ** | ** | ** |
| Estonia | Latvia | Lithuania | |
|---|---|---|---|
| Bank link: | |||
| Urbo Bank | n/a | n/a | |
| Bank offices: | |||
| SEB | n/a | n/a | |
| Swedbank | n/a | ||
| Urbo Bank | n/a | n/a | |
| Artea Bankas | n/a | n/a | |
| Existing Smart-ID account: | |||
| Smart-ID | n/a | n/a | n/a |
How to use the table:
V = Yes, this method is available
n/a = No, this option not available
* = Option available with some limitations
** = Option available with specific limitations, please read more about using your existing Smart-ID to authenticate a new account.
NB! Depending on the registration method, different age restrictions may apply for users younger than 18 years old. Please read more about the requirements for Smart-ID account for minors.
Terms of use, for example transfer limits etc., are set by e-service providers.
* Geographical restrictions might apply.
Registering a Smart-ID account is easy, even if you are not an experienced ID-card user. These instructions will give you all the information you need to get started: please read through before you start the registration process and if required, we have provided additional information in links throughout this section.
To create a Smart-ID account for a user under 18, the account must be authorized by a parent: we have separate instructions for verifying a minor’s account with an ID card.
First of all, check that you have everything you need for Smart-ID registration:
- Have you downloaded and installed the Smart-ID app?
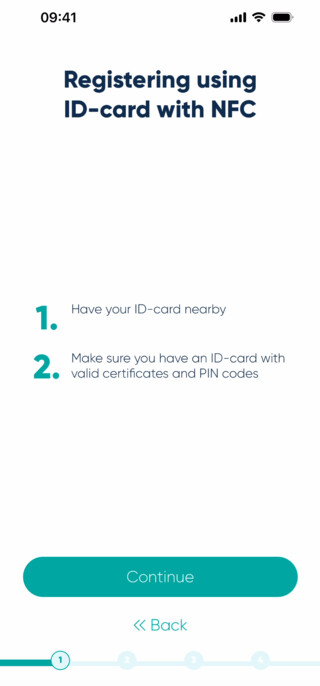
You can download your Smart-ID app for free through Google Play and App Store. Just follow the instructions on your screen and you will be ready in a couple of minutes. - Do you have a valid ID-card?
Make sure your ID card is valid. You can check your document’s validity here: https://www.politsei.ee/et/paringud/dokumendi-kehtivuse-kontroll.
Keep your ID card PIN1 and PIN2 codes at hand.
* If your Estonian ID card was issued on or after November 17, 2025, you must change your PIN2 code before first use. More information is available on id.ee. - Does your phone have NFC support?
If you have an iPhone (from 2015 or newer), it supports NFC. Most newer Android phones also support NFC. You can check this in your phone settings under “Connected devices” or “Network & sharing,” where you will find the NFC option. Make sure NFC is turned on during registration.
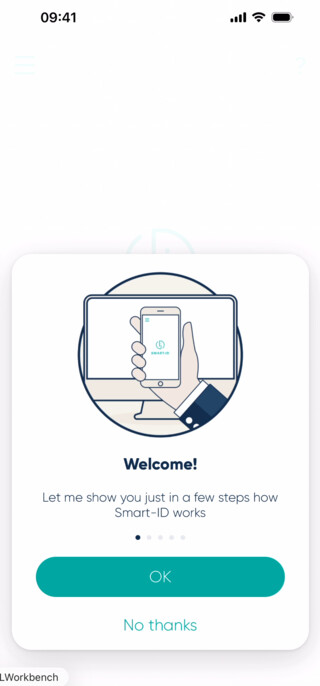
Step 1: open the Smart-ID app on your smart device
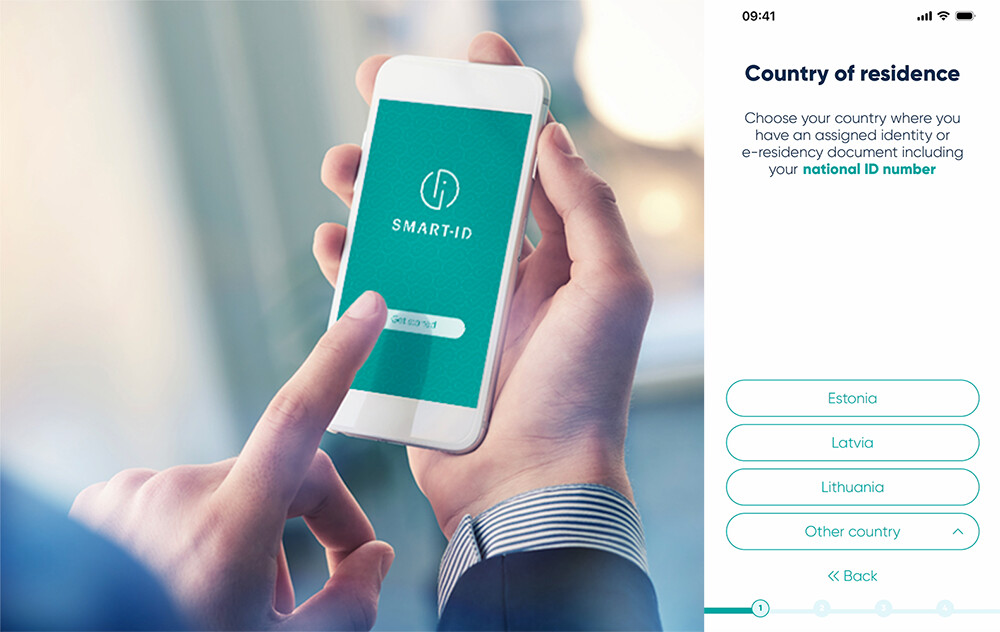
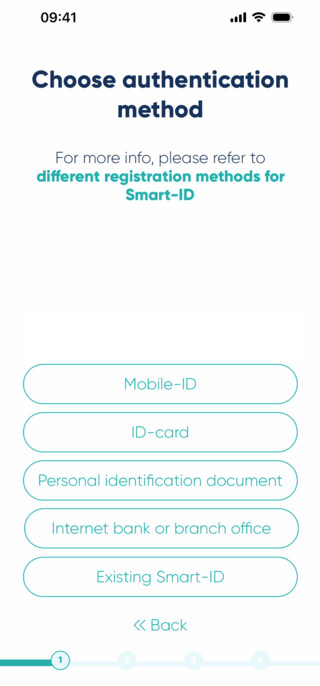
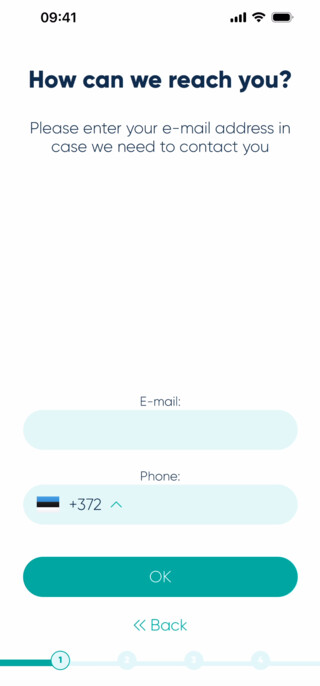
Open the Smart-ID app on your smart device and select “Register new Smart-ID”. You will be asked to select your country of residence and authentication method (choose “ID-card”). Please note that registration with NFC option may not yet be available in your country.
You’ll also have to read through and agree to the terms and conditions of using Qualified Smart-ID Certificates (confirming that you want to use Smart-ID for authentication) and enter your contact details.

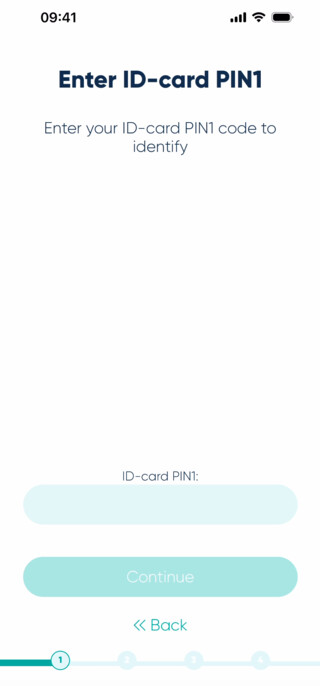
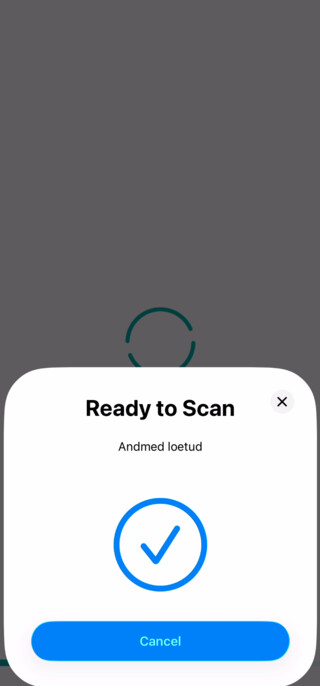
Step 2: Identify contactlessly
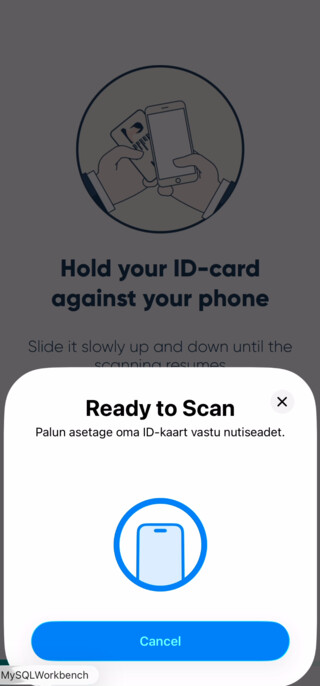
To identify yourself using ID-Card with NFC you need to enter 6-digit ID-Card access number (CAN) and ID-Card PIN1 code. As ID-Card needs to be held near phone during communication, PIN1 code is asked before actual transaction.

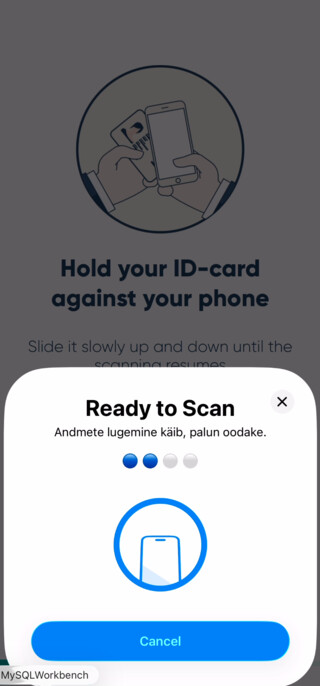
After that hold your ID-Card against your phone until reading has completed.
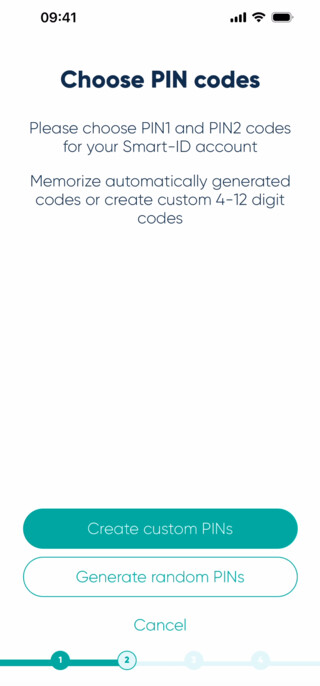
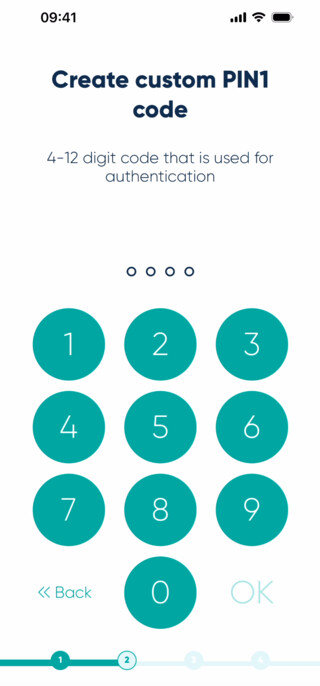
Step 3: choose your PIN-codes
Next you’ll be asked to choose the PIN-codes you want to use with your Smart-ID app. Please note, Smart-ID PIN-codes can’t be restored or reset, so it is important that you choose PIN codes that are easy for you to remember but are also difficult for others to guess. For more information on PIN codes, read our tips on PIN-codes.
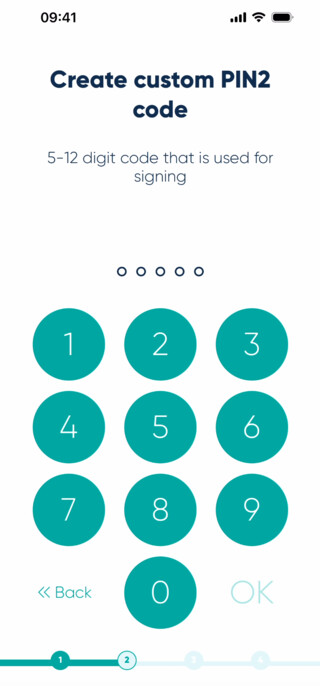
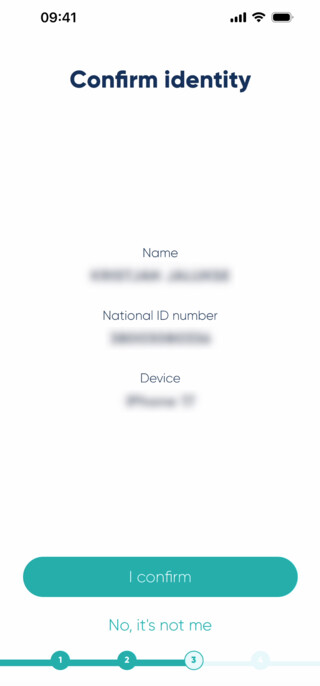
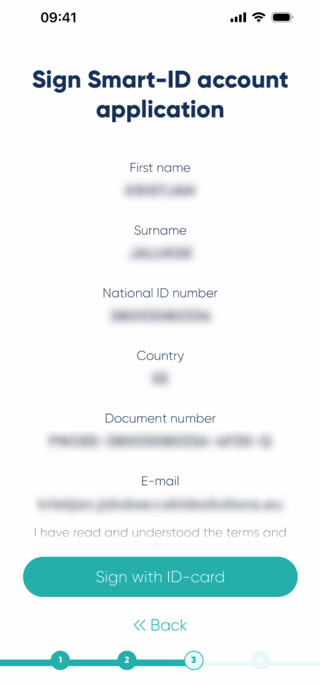
Step 4: Confirm your details and sign Smart-ID application
Confirm details about your device and data read from ID-Card and enter PIN2 for signing Smart-ID application.
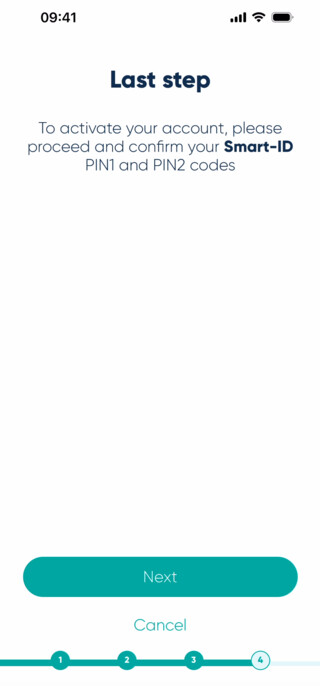
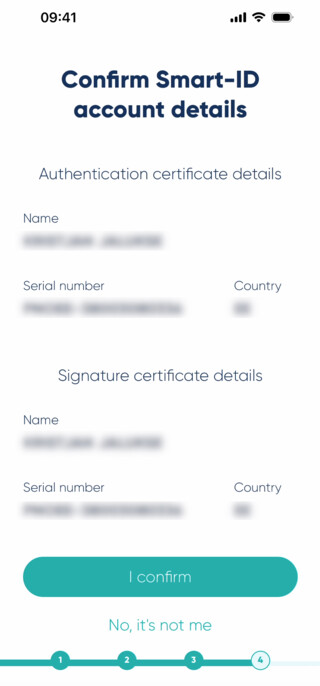
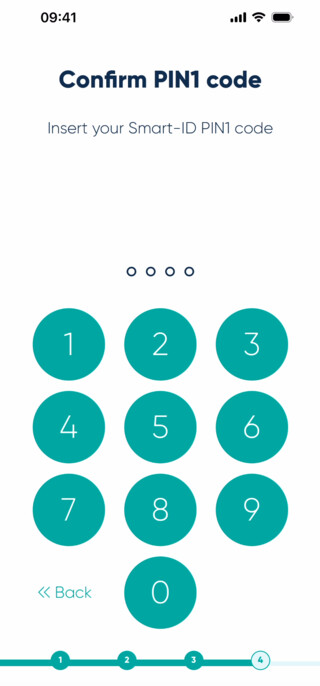
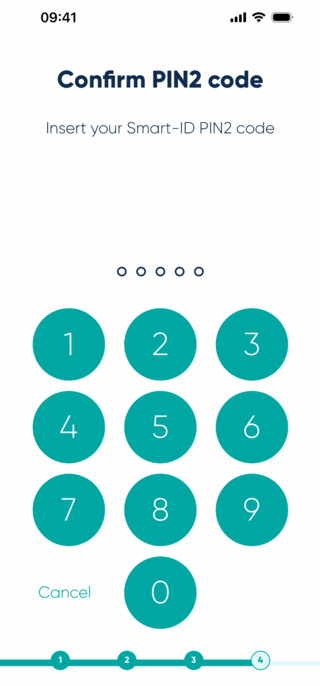
Step 5: finalize the registration process on your smart device
The last step of Smart-ID registration is to confirm that you can recall your Smart-ID PIN 1 and PIN 2 codes. If the codes you are asked to enter at this stage match the ones you chose earlier, congratulations! You are ready to use Smart-ID!
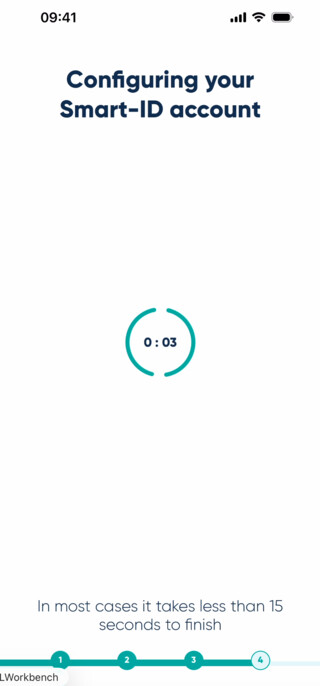
Step 6: hurray, it’s time to enjoy!
Celebrate your new electronic freedom and log in to one of the e-services using your brand new Smart-ID account! You could, for example, log in to your online bank account. Just choose “Smart-ID” as your authentication method. The Smart-ID app on your smart device will let you know when you need to confirm your log in with PIN 1. Just follow the instructions on your screen, it’s really that easy! Don’t forget that you can use Smart-ID across multiple devices – i.e. you can use it to log in to services through your computer and once you’ve confirmed login/transaction on your Smart-ID app, the browser will automatically redirect you within a few seconds. Just try it, it really will make your life so much easier!