This section is for users who want to register a new Smart-ID account or renew/upgrade an existing one using biometric identification as their authentication method. Read whether biometric identification suits you and begin reading the instructions at stage 1: filling in the form.
After you filled in the initial forms, you were asked which document you want to use for biometric identification.
In Estonia, Latvia, and Lithuania, a passport, ID card, and residence permit card can be used.
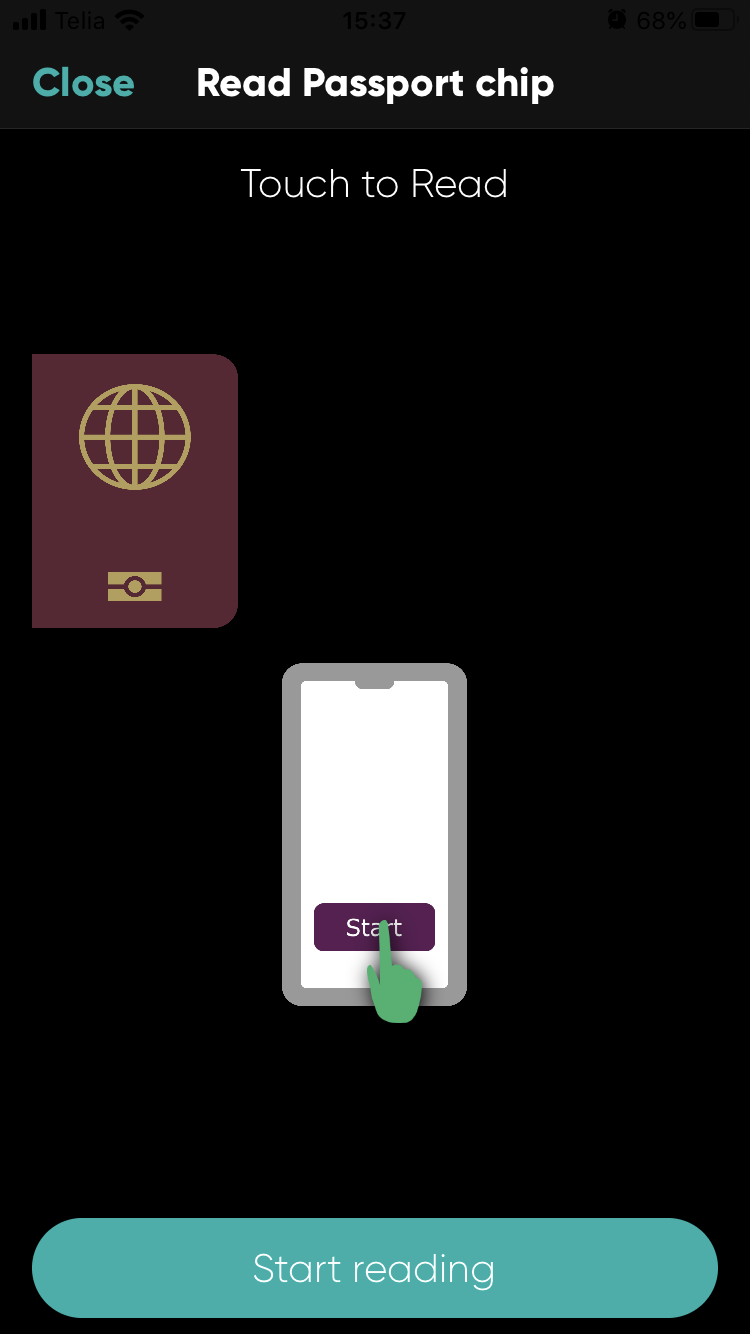
You’ve reached the starting point of “biometric”!
Before you start scanning, make sure you’ve closed all other apps on your phone (in case they might use NFC scanner and disrupt the identification process)!
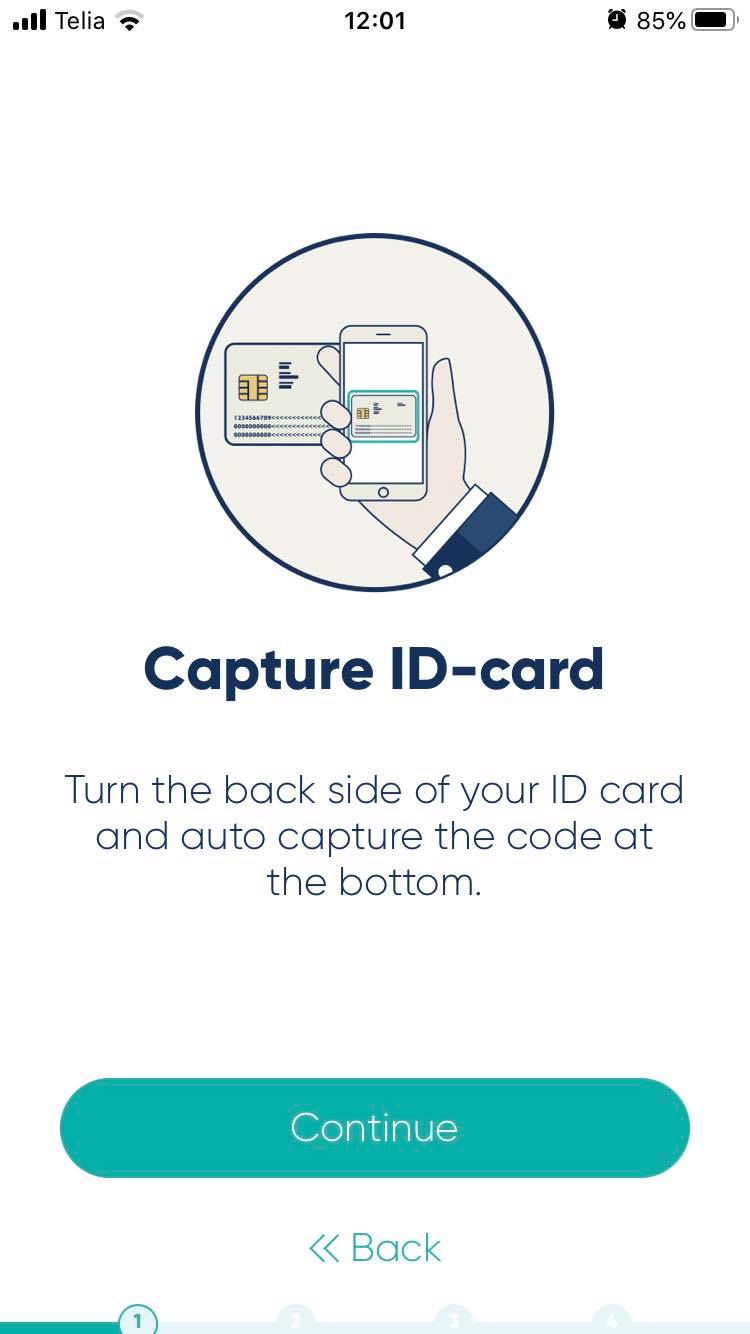
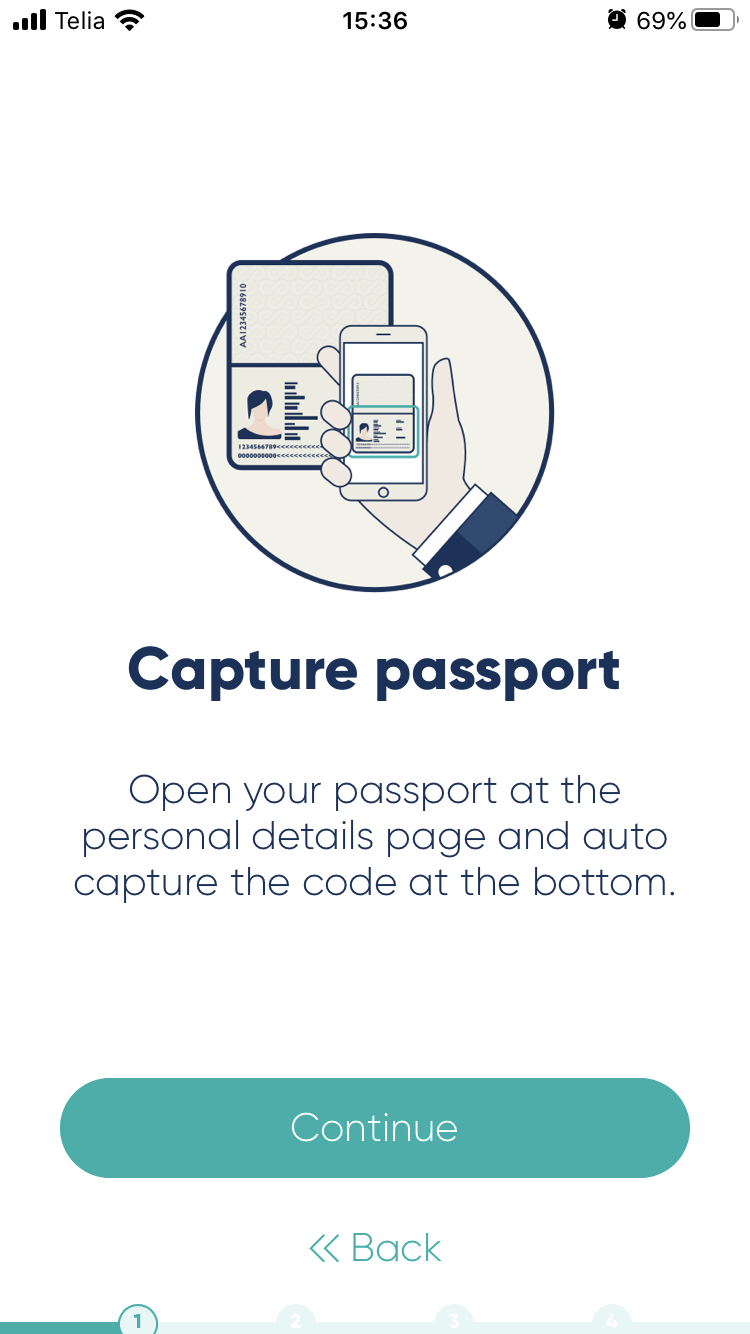
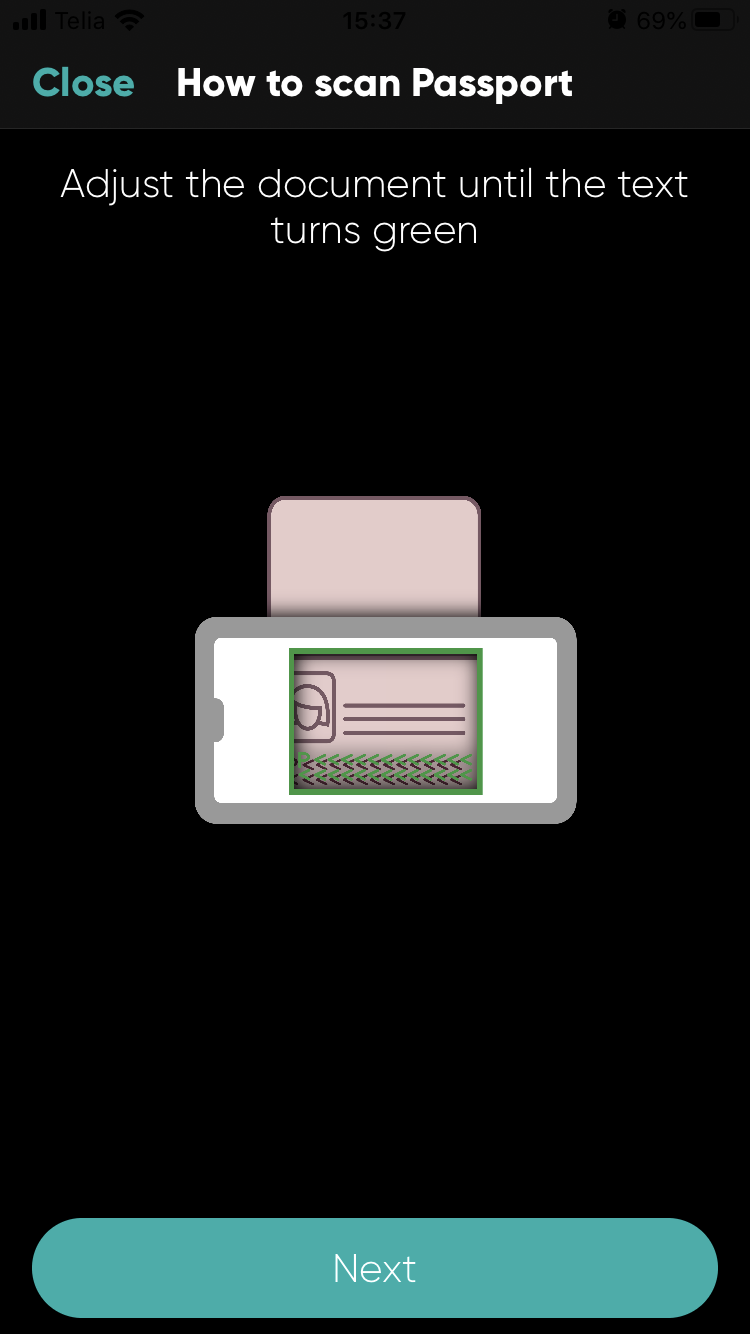
First, the app will show you a short static guide. Once you move to the next step, you’ll see an animated instruction on how to take a photo of the MRZ-code in your document.
Do not try to rush this step: get your document ready before you click to go to the next step. Smart-ID will open your phone camera automatically – you just follow the instructions.
If you chose “Active Smart-ID account” as your authorisation method before, you’ll be asked to enter PIN1 to continue. If you chose “E-mail or SMS”, you won’t be asked for PIN1-entry.
Once you’ve successfully taken a picture of your MRZ-code, the Smart-ID app will automatically take you to the next step: scanning the microchip.
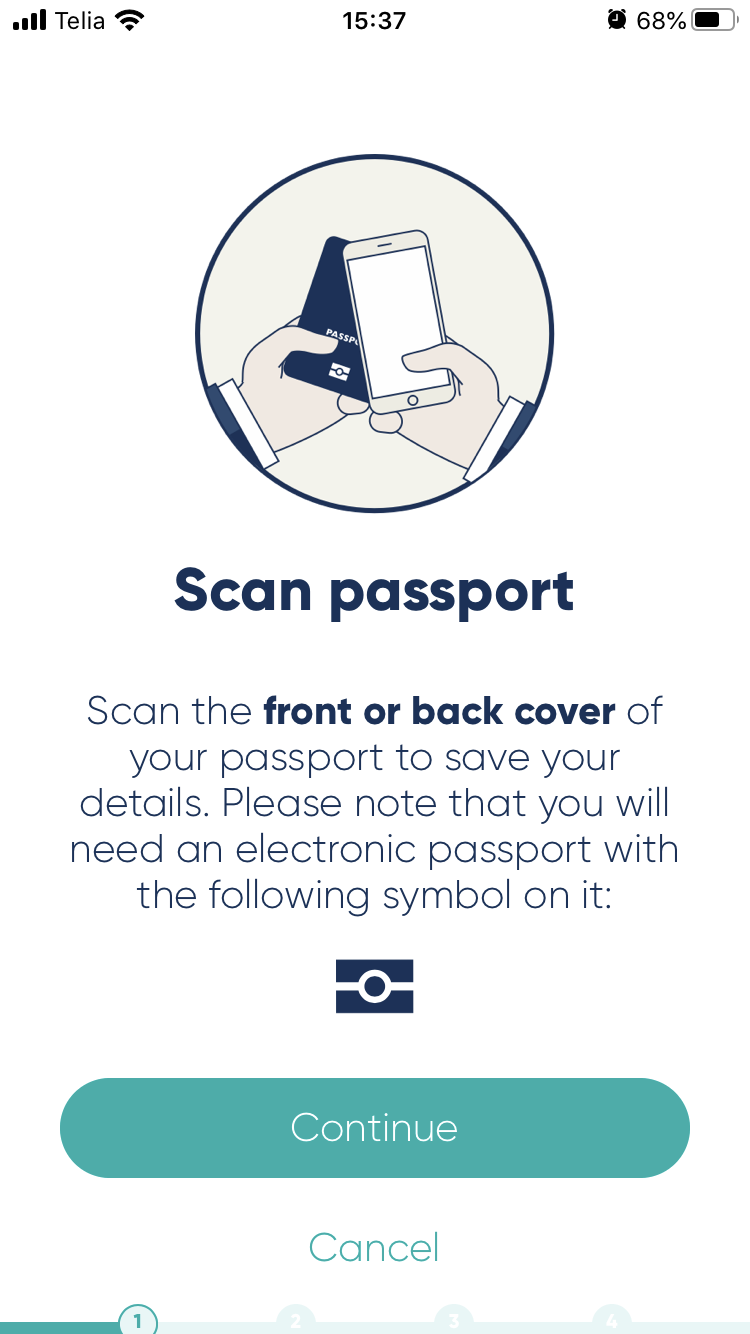
The registration process is almost identical for passports and ID-cards. We’ve used passport as an example in these instructions, but keep following the steps even if you’re using your ID-card: these guidelines still apply.
Find the electronic chip with your NFC-reader.
Locating the chip for NFC-scanning is similar to taking a picture of your passport. First, you’ll see short static instructions. Then we’ll show you an animated guide of what to do.
Most NFC-readers are able to scan your document regardless of how it’s placed: open or closed, upside down or back to front. If your phone seems to struggle locating the chip, adjust your document: turn it, flip it, place your phone on it, try scanning at the open data page etc. Don’t try to rush it – some smart devices just need a bit of extra time!
Once the chip has been located, you’ll see a status bar for the scanning process.
Is your NFC-scanning failing? Please make sure you’ve closed all other apps (and their background activities) on your phone!
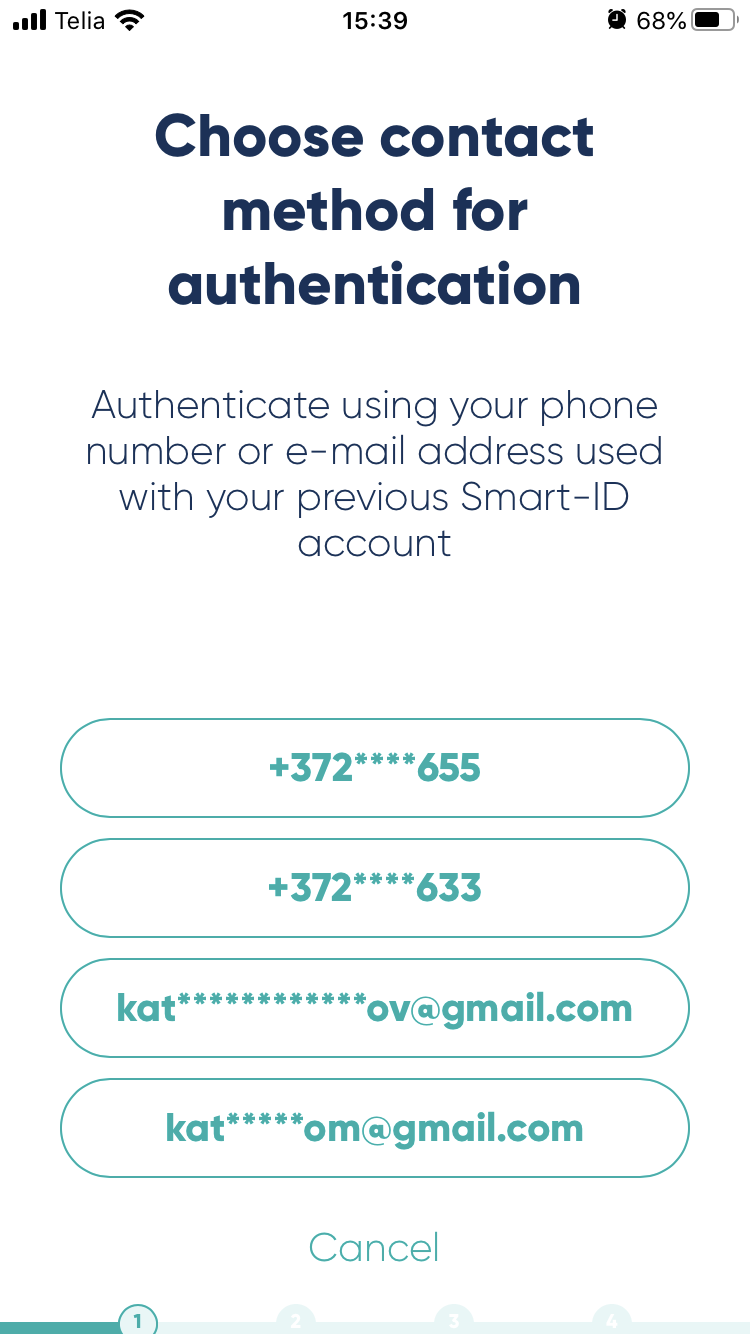
NFC-scan was a success? You’ll now receive a 6-digit OTP-notification code.
Once your document has been successfully scanned, the app will send you a 6-digit security code:
- If you chose an active Smart-ID account as your authorisation method, you get to skip this step
- Those who chose “E-mail or SMS” have to choose where the code will be sent – and the app will not continue with biometric identification until you’ve entered this OTP-code.
- Are you currently travelling abroad or have difficulty receiving OTP codes via text messages? Use e-mail instead. More information about receiving OTP codes.
- NB! The OTP-notification will only be sent to phone numbers that include the country code (for example +371, +370, +372 etc). If your phone number was entered without the country code, you will not receive the necessary confirmation code SMS and also you will not see any error messages related to it.
Unfortunately it is not possible to change your phone number entry at this point. The only solution is for you to use a different registration method and to make sure that you enter your phone number complete with the country code while filling in the form. This will enable the use of biometric identification for account creation in the future.
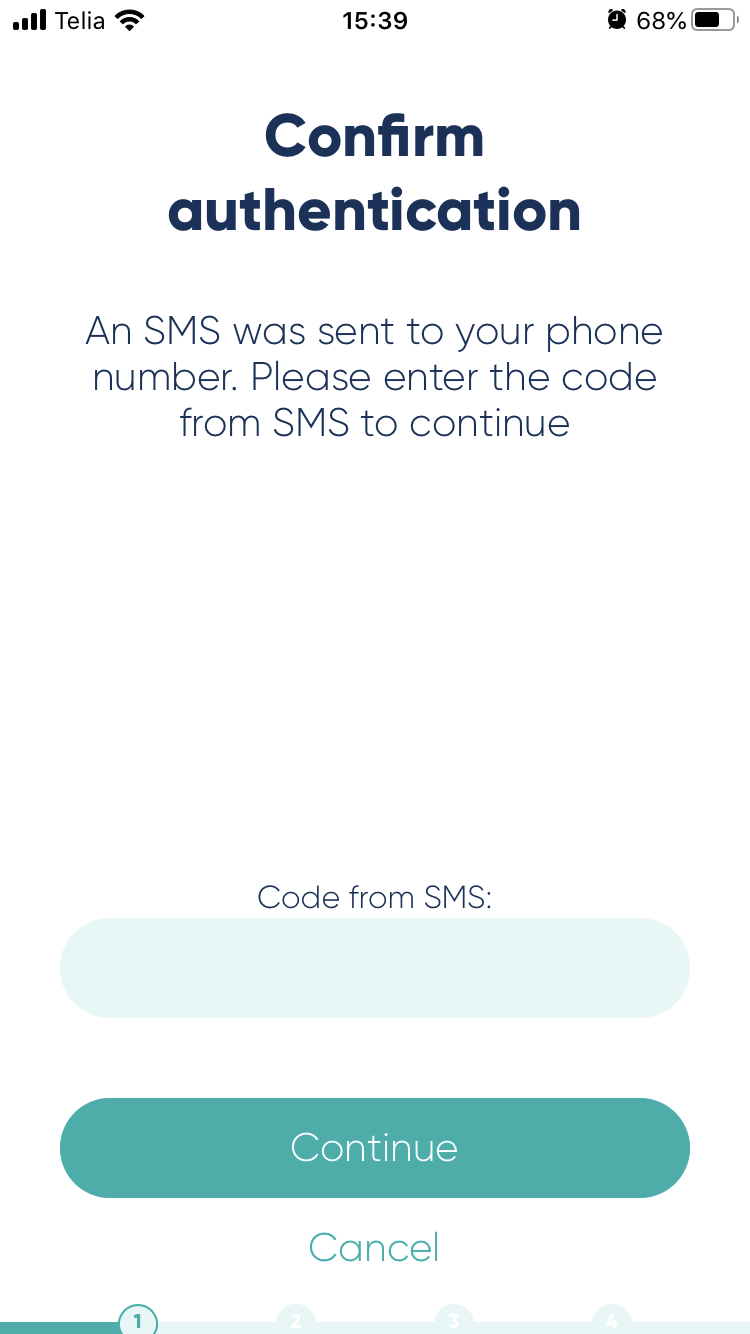
Confirm the authentication with the 6-digit numeric code we emailed or sent via SMS and you’re done with document scanning!
Next up is the final stage – and you’ll have to take a selfie there.
Continue to stage 3: linking the account with you.